
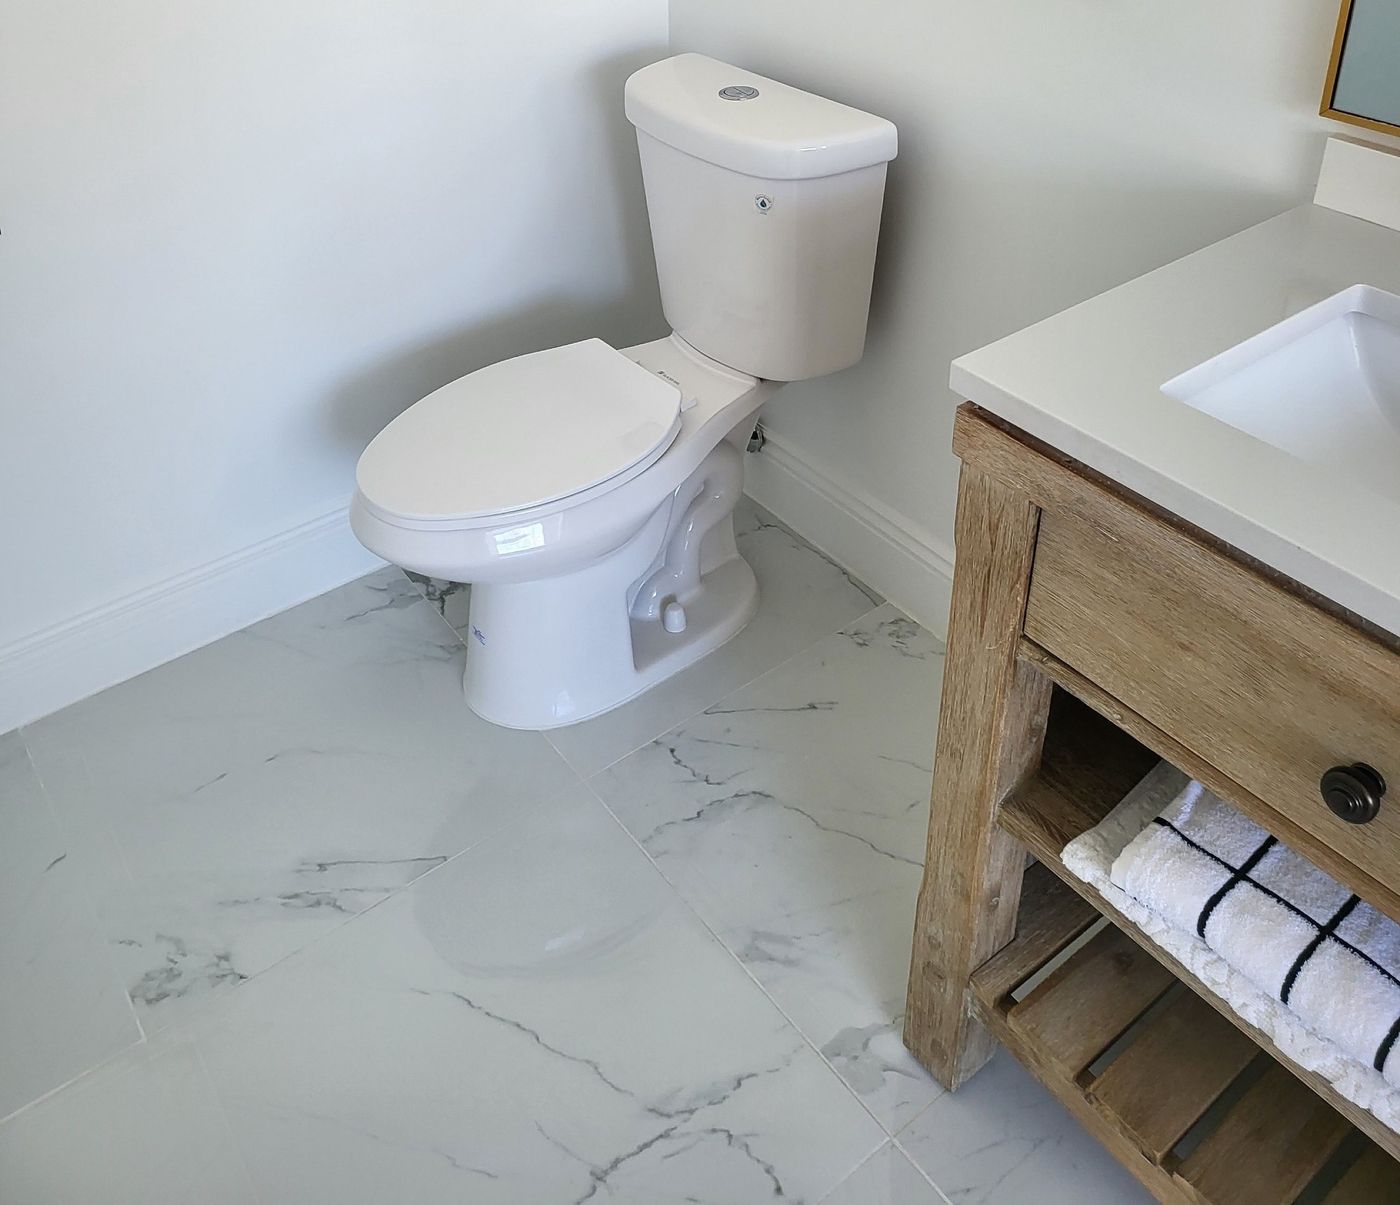
Replacing a toilet ranks among the most satisfying bathroom upgrades you can complete in a single afternoon. The job requires no special certifications, and most DIYers can handle it with basic tools and careful attention to detail. This guide walks you through every step of toilet installation so you can tackle your next project with confidence.
Understanding Your Toilet Rough-In and Bathroom Space
Correct measurements are the first critical step in any toilet installing project. Getting this wrong means returning the toilet or dealing with awkward offset flanges that complicate the install.
What Is a Rough-In?
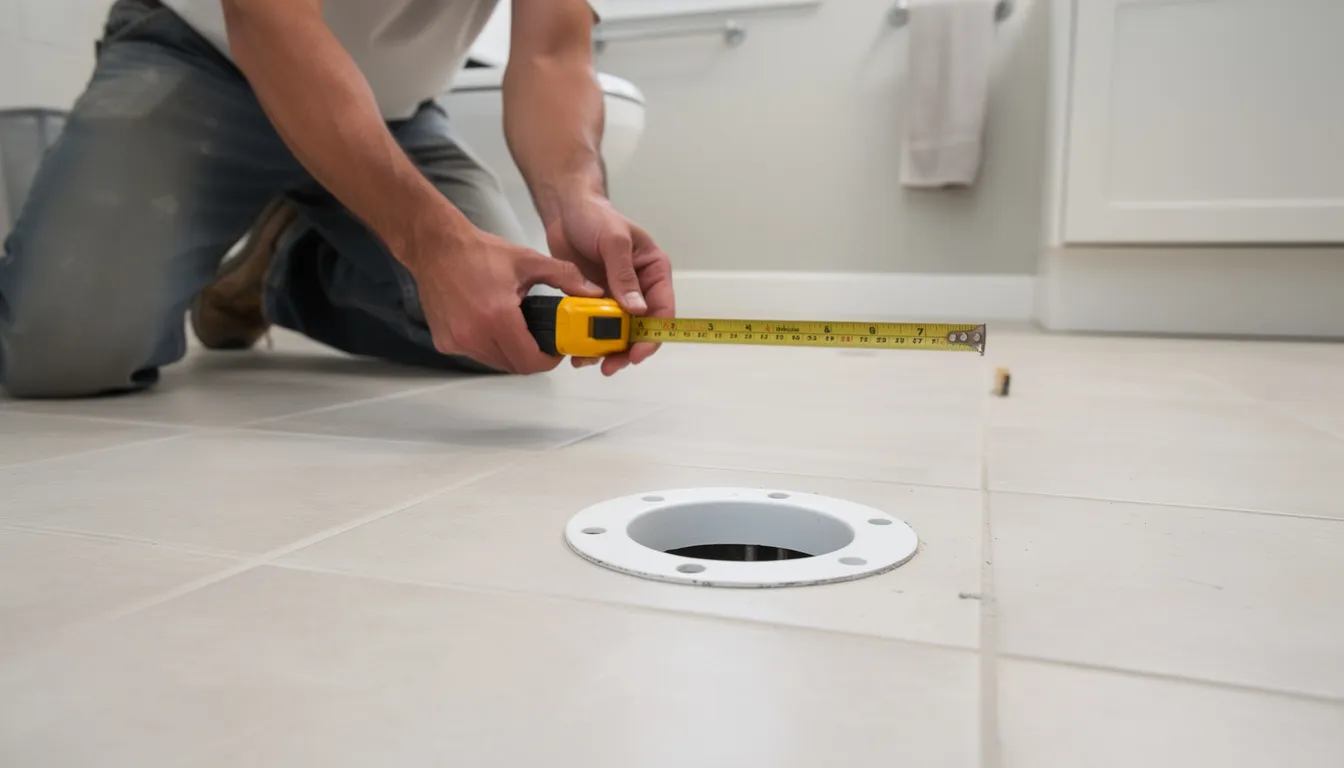
The rough-in distance is measured from the finished wall, not the baseboard, to the center of the closet bolts or floor flange. Standard U.S. toilets use a 12-inch rough-in, but older homes sometimes have 10-inch or 14-inch configurations. Measure from the wall surface to the bolt holes and ignore any trim or baseboard thickness.
Space Requirements
- Side clearance: At least 15 inches from the toilet center to any wall or fixture.
- Front clearance: 24–30 inches of open space in front of the toilet bowl.
- Vertical space: Measure from the floor to shelves or cabinets to ensure a taller tank will fit.
Bowl Shape Considerations
Round bowls measure approximately 16.5 inches from the bolt holes to the front rim, while elongated bowls extend to about 18.5 inches. Elongated designs offer more comfort in spacious master baths, while round bowls work better in tight spaces common in smaller bathrooms throughout American Fork and similar Utah communities.
Before purchasing, confirm your water supply location aligns with the new toilet’s inlet. Mis-measuring the rough-in forces returns or requires specialty offset flanges, so double-check everything before you buy.
Tools, Materials, and Safety Prep
Having the right tools on hand makes toilet installation smoother and safer. Gather everything before you start to avoid mid-project hardware store runs.
Tools Needed
- Adjustable wrench and channel-lock pliers.
- Flat and Phillips screwdrivers.
- Tape measure and spirit level.
- Utility knife and putty knife or scraper.
- Small hacksaw for trimming closet bolts.
- Drill with appropriate bits if new anchor holes are needed.
Materials Required
- New toilet, either a bowl-and-tank set or a one-piece fixture.
- New wax ring or waxless seal to create a watertight flange connection.
- Closet bolts and caps to secure the toilet to the floor.
- Flexible braided water supply line.
- Silicone sealant, rubber gloves, towels, a sponge, and a bucket.
Safety Considerations
A complete toilet weighs 80–100 pounds, so lift with your legs or recruit a helper. Shut off the main water if the local shutoff valve seems unreliable because corroded valves can fail after 20–30 years. Place cardboard on the floor to protect tile while moving fixtures.
Older Utah homes may have lead or galvanized piping. If you encounter deteriorated pipes, stop and contact a licensed plumber like Quick Quality Plumbing rather than attempting major pipe work yourself.
How to Remove an Old Toilet
Removing the old toilet is the first hands-on stage and typically takes 20–40 minutes for a careful DIYer.
- Shut off the water supply at the valve near the toilet base. Flush to empty the tank and bowl, then remove remaining water with a sponge or wet/dry vacuum.
- Disconnect the water supply line from the tank with an adjustable wrench and place a towel underneath to catch residual water.
- For a two-piece toilet, remove the tank bolts and lift the tank off first to make the fixture lighter.
- Pry off the closet-bolt caps, remove the nuts, and gently rock the bowl side to side to break the wax seal.
- Lift the bowl straight up and set it on cardboard or in a contractor bag.
- Immediately block the waste pipe with an old rag to keep sewer gases out. Remove the rag before installing the new toilet.
For disposal, check local guidelines. Salt Lake City offers bulk pickup for large items, or you can take the old toilet to a transfer station.
Preparing and Repairing the Toilet Flange
A clean, solid flange is the foundation of a leak-free toilet installation. Skipping this step causes many slow leaks and cases of subfloor damage.
- Clean the flange thoroughly with a putty knife, removing all old wax from the flange and surrounding floor.
- Inspect the flange for cracks, corrosion, or movement. A rocking or damaged flange may need a repair ring; severely corroded cast-iron flanges often require professional replacement.
Ideal Flange Height
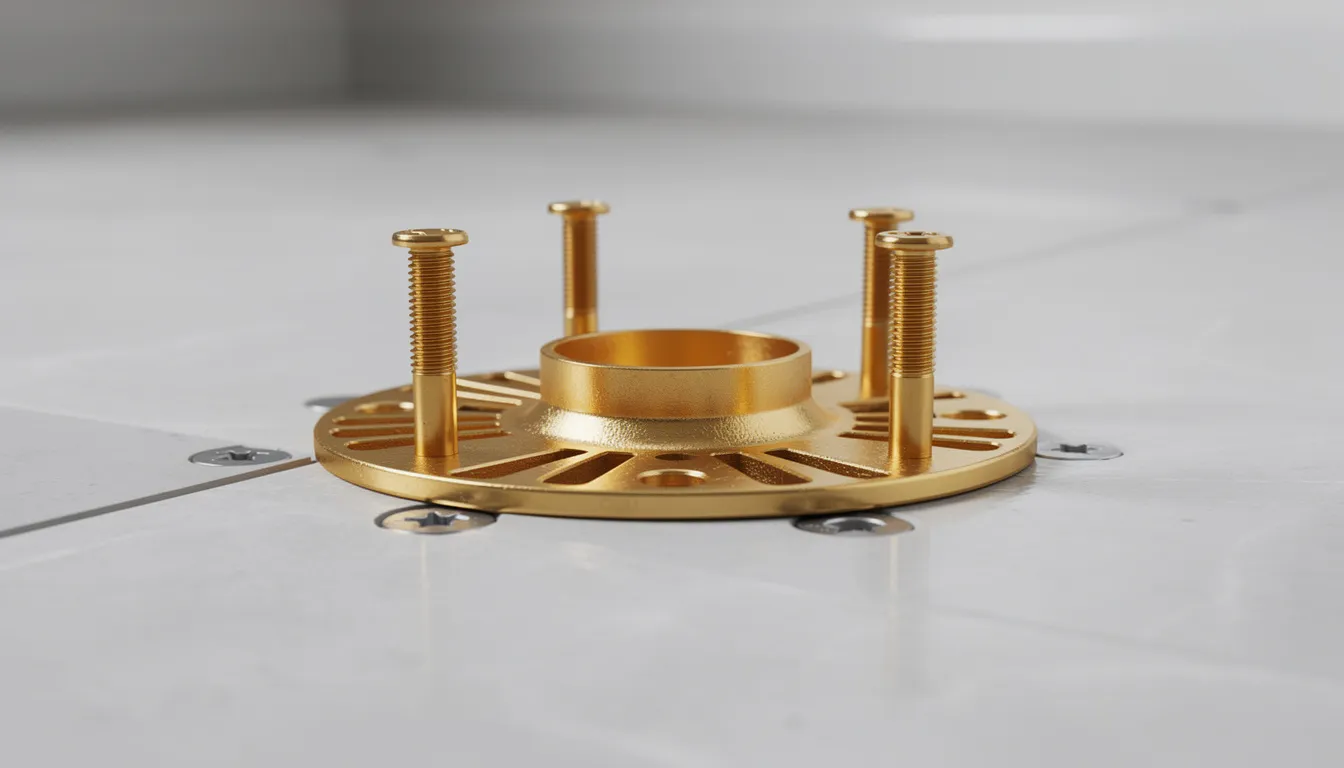
The top of the flange should sit level with the finished floor or up to 1/4 inch above it. If the flange is more than 1/4 inch below floor level, use a thicker wax ring or stackable seal to bridge the gap.
- Install fresh closet bolts in the flange slots at 3 and 9 o’clock. Plastic retaining washers help keep the bolts upright.
If you discover a severely corroded soil pipe or rotted subfloor, consult Quick Quality Plumbing before proceeding.
Setting the Wax Ring and Positioning the New Toilet
These steps require accuracy because a wax seal compresses only once. Re-setting the toilet means starting over with a new wax ring.
Wax Ring Placement
Place the wax ring on the flange or toilet outlet. Most homeowners find it easier to center the ring on the flange with the plastic horn, if present, pointing down into the drain. Press gently without deforming the wax.
- With a helper, lift the bowl and lower it straight down over the closet bolts, guiding the bolts through the base holes without twisting.
- Press down firmly with your body weight and rock gently in both directions to fully seat the bowl and compress the seal.
- Check level across the bowl rim in both directions. If it rocks, add plastic shims rather than tightening the bolts harder.
- Install washers and nuts, tightening in small alternating increments. Stop as soon as the toilet is solid to avoid cracking the porcelain.
If the bolts extend too far above the nuts, trim them with a hacksaw before snapping on the decorative caps.
Installing the Tank, Connecting Water, and Final Sealing
Different toilet designs have slightly different steps, but all share the same goal: secure connections with no leaks.
Two-Piece Toilet Tank Installation
Install the tank-to-bowl gasket under the tank, insert the mounting bolts, and lower the tank onto the bowl ledge. Tighten the nuts evenly until the tank is stable and level without overtightening. Follow the manufacturer’s instructions for your model.
Water Supply Connection
- Attach a new braided water supply line between the shutoff valve and the tank fill valve. Hand-tighten first, then snug gently with a wrench.
- Turn on the water slowly and watch for leaks at both ends of the line, the tank bolts, and the toilet base.
- Test-flush several times. Watch for water at the base or drips at the connections and make only small tightening adjustments.
Sealing the Base
Apply a neat bead of silicone around most of the toilet base where it meets the floor, leaving a small gap at the back so a future leak becomes visible instead of being trapped underneath. Check local code preferences or ask a professional plumber if you are unsure.
Time, Cost, and When to Call a Professional
An experienced DIYer can complete this job in 1–2 hours. First-timers should budget 2–4 hours for a careful installation.
Typical Cost Breakdown
- Standard residential toilet: $150–$600.
- New wax ring and bolts: $5–$20.
- Braided supply line: $10–$25.
- Caulk and hardware: $5–$15.
- Typical DIY total: $170–$660.
- Professional installation: commonly $150–$350, with more complex permitted work potentially reaching $400–$800.
When to Call a Pro
- The flange is cracked or sunken.
- The subfloor is soft or water-damaged.
- Sewer odor persists after installation.
- Cast-iron or galvanized piping is leaking.
- The toilet must move to a new location with new drain lines.
Expert installation helps prevent hidden leaks, mold, and structural damage that can cost far more than the initial service call.
Basic Maintenance After Installing a Toilet
A correctly installed toilet should run trouble-free for many years. Check around the base during the first week and watch for moisture during the first several flushes.
- Inspect the base every few months, especially on upper floors.
- Avoid harsh chemical drain cleaners that can damage seals; use a plunger or auger for clogs.
- Replace flappers and fill valves every 5–10 years or sooner if the toilet runs continuously, ghost-flushes, or hisses.
- Gently check tank bolts and supply connections annually, taking care not to overtighten.
Frequently Asked Questions
Do I need a permit to install a toilet myself?
Most municipalities do not require a permit for a like-for-like replacement on an existing drain and vent, but some jurisdictions require permits for any plumbing alteration. Check your local building department. Moving a toilet or altering drain and vent lines almost always requires a permit and inspection.
Should I use a wax ring or a waxless seal?
Traditional wax rings are inexpensive and reliable when set correctly. Waxless seals are cleaner and can work better on uneven floors or low flanges. A waxless option can also help a DIYer who may need to reset the toilet during installation.
What if my toilet rocks after I have installed it?
A rocking toilet points to an uneven floor or inadequate shimming. Turn off the water, drain the tank, loosen the bolts slightly, and add hard plastic shims at low spots until the bowl is solid and level. Then snug the bolts carefully and caulk the base.
Can I reuse the old wax ring if it still looks okay?
Never reuse a wax ring. Once compressed, it cannot reform a dependable seal. A new ring costs far less than repairing water-damaged flooring or resetting the toilet later.
How do I know if I have overtightened the bolts?
Warning signs include hairline cracks around the bolt holes, creaking during tightening, or distortion where the base meets the floor. Tighten only until the toilet stops moving and the washers feel snug. If you see cracking, stop and have a professional evaluate it.
Conclusion
Installing a new toilet is a manageable DIY project that can save money and refresh a bathroom. Careful measurements, flange preparation, and patient step-by-step work are the keys to a secure, leak-free installation. Use the right tools, take your time, and seek professional help when damaged plumbing or flooring puts the project beyond a straightforward fixture replacement.